Running Lights 102I bought the stuff to do this mod per Manny's instructions, but ran into a little bump he didn't address. After exchanging PM's, I'm still not sure what he did to keep the dual filament conversion from rotating in the socket.
I've also got a few more pics to go along with the whole deal.
To take apart the signal, there's a screw inside near where the wire comes out:

And a screw that holds the 1156 style socket in the housing:
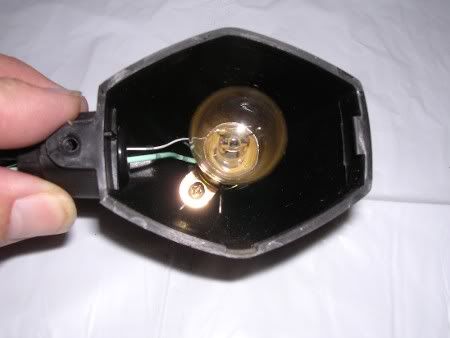
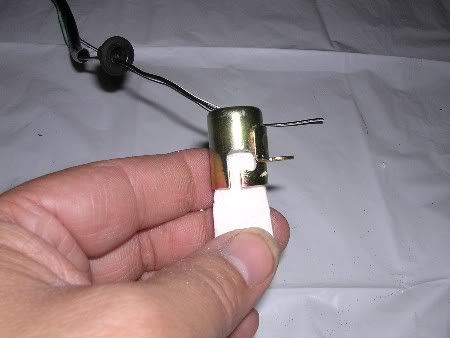
This is what the stock 1156 socket looks like. The guts will go as part of the conversion. When you cut the wire to remove the 1156 guts, be sure to leave more than enough on the connector end to make a splice.
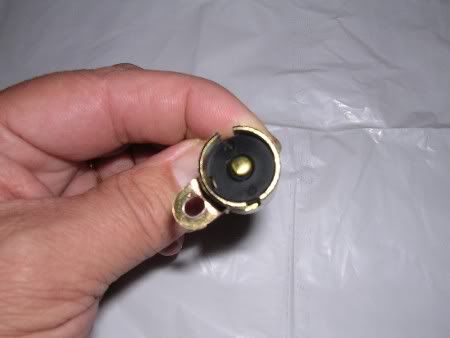
The single wire/terminal guts will be replaced with a dual wire setup.
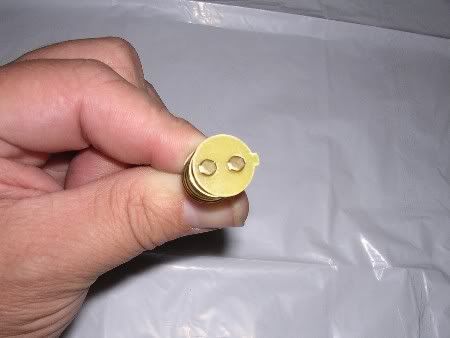
Notice the tab on the 1157 style disc. The 1156 socket does not have a provision for this.
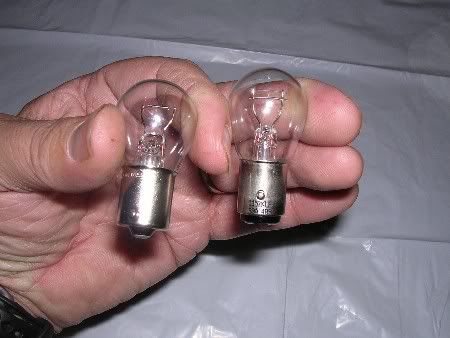
Also, the 1157 bulbs have staggered lock pins, one being higher than the other. The OEM 1156 bulb has both pins in the lower position.
A little work with a rotary file on a drill or Dremel on one of the slots in the socket will allow the 1157 bulb to fit.
Install the bulb in the socket without any guts in it.
Notice the tab on the 1157 terminal disc is in line with the two terminals. (Refer to the 1157 guts pic above.)
Use a marker to mark a line on the socket that is inline with the terminals on the bottom of the 1157 bulb.
Cut a slot down the socket wide enough for the tab.
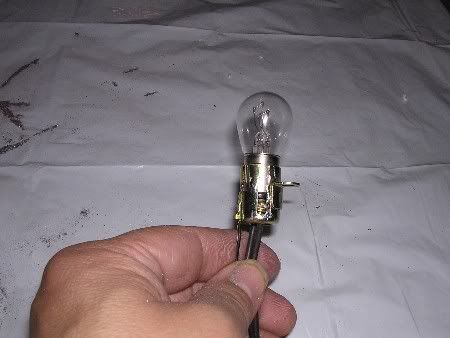
Remove sharp edges and install the 1157 guts & bulb.
Since my 2001 B12 came with 3 wires on the main harness side of the signal connector and a voltmeter proved the unused wire was powered when the key is on, I wanted to power the running light filament thru the OEM connector. A call-out in our own "PARTS WANTED" for the wires and connector from a broken signal provided me with the necessary wires and female terminal ends.
(A BIG Thanks goes out to Tundrahog for that!)
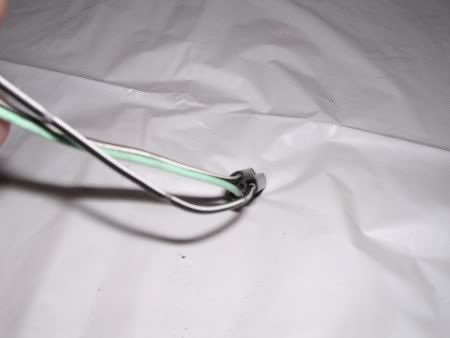
The locking device in the plug is a real bear to release and since I didn't need the plug, I cut this "extra" connector open to retrieve the first wire & terminal and was able to then pry the other lock up to release the second wire.
(DO NOT cut open the connectors from your signals - only the spare donor!)
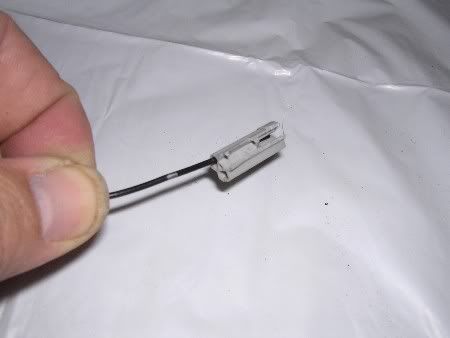
There's a little square hole in the terminal that engages the lock in the plug. This hole goes toward the center of the plug.
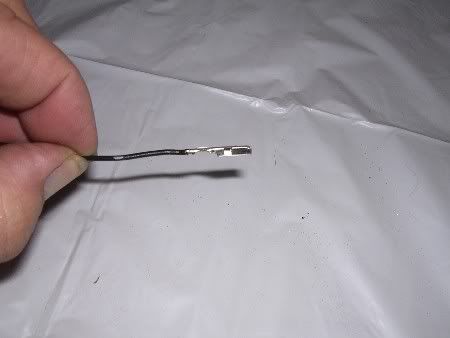
Just slip the new wire terminal into the connector. This will be the running light's power wire.
(You may want to mark this wire so you won't confuse it with your other cut wire.)
Next, cut a slot between the two holes in the rubber grommet so all three wires can pass thru.
Depending on which of the two lock slots you raised and where you put the alignment slot in the socket will have a factor in which wire illuminates which filament, so test your wires and mark which one is which.
The bright filament is the turn signal, the dimmer one is your running light.
If you don't have splices slim enough to pass thru the signal housing, go ahead and put the modified socket and wiring back into the signal, then splice the 1157 socket wires to the plug's wires.
If you do have slim style splices, you can splice things back together before you reassemble the socket and your handiwork should look something like this:
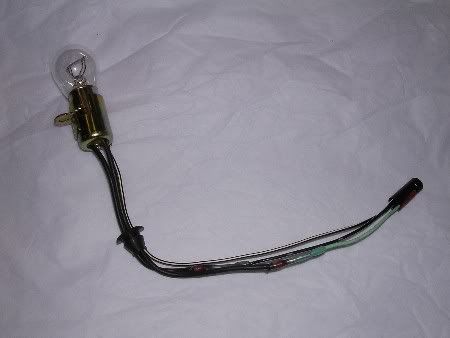
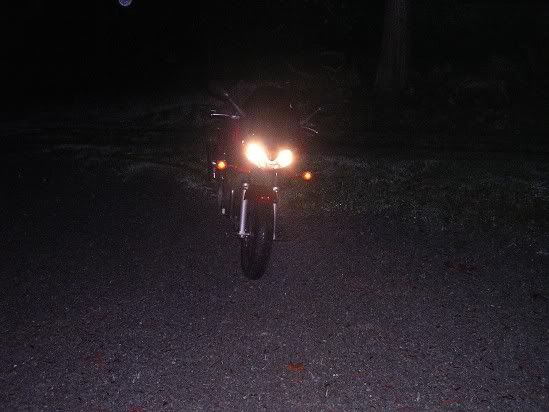
Put everything back together, and VIOLA! You now have Running Lights v.102.

 Topic: Running Lights 101 & 102 (Read 14242 times)